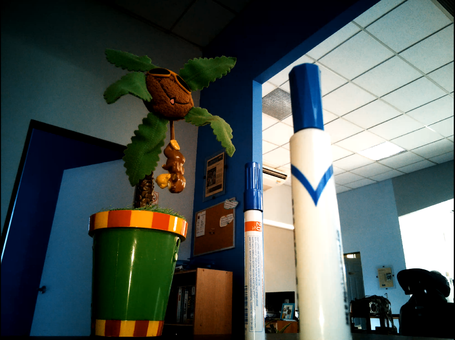
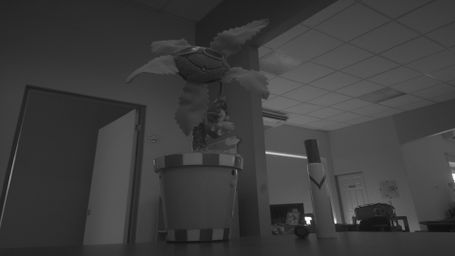
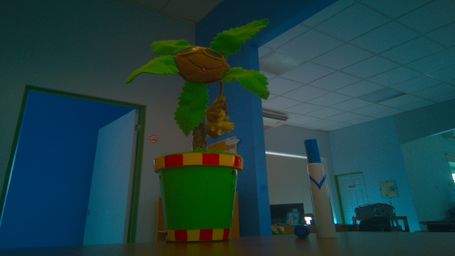
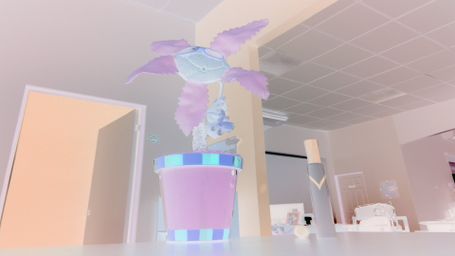
NVIDIA Jetson ISP Control
Contents
Description
This page is an introduction to change the Jetson TX1/TX2/Xavier/Nano ISP configuration with the nvcamerasrc element.
Overview
Image signal processor (ISP) has the ability to converting from bayer to yuv. Jetson TX1/TX2/Xavier/Nano has two ISP, nvcamerasrc element was created by nvidia and it has access to the ISP.
White balance modes on NVcamerasrc
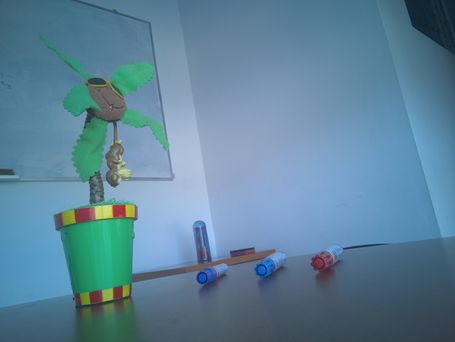
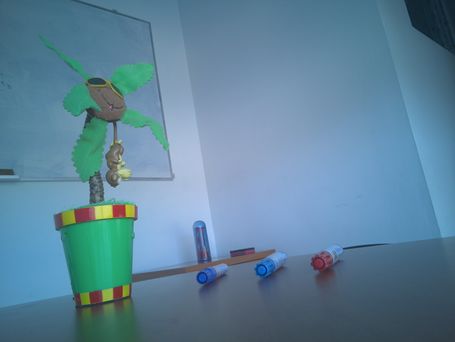
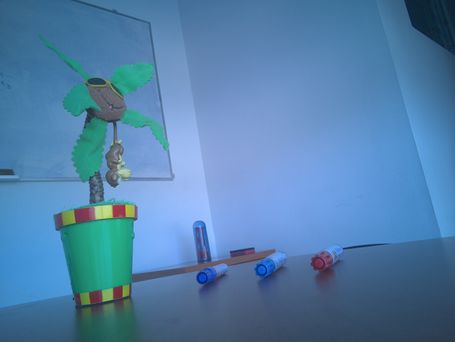
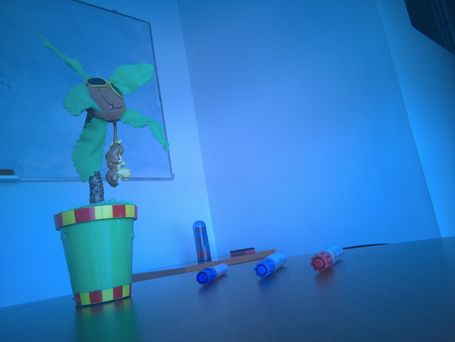
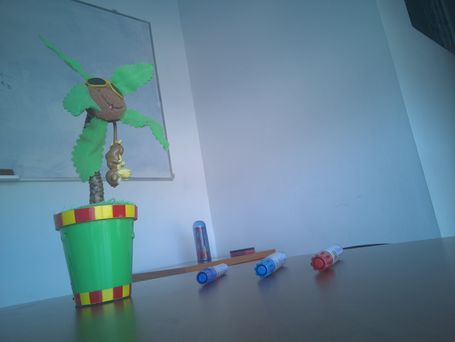
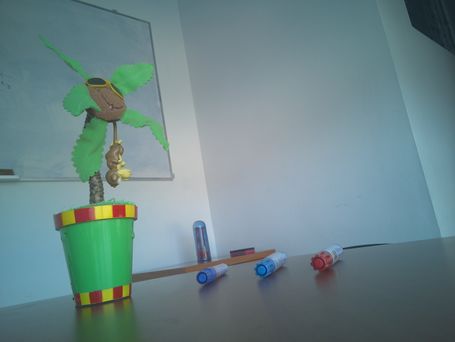
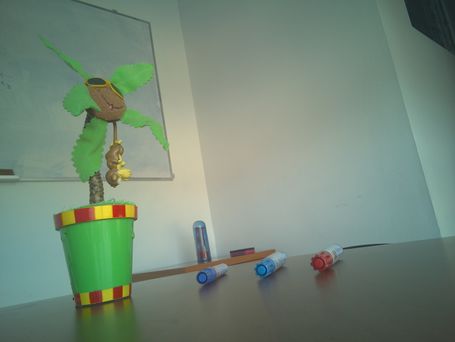
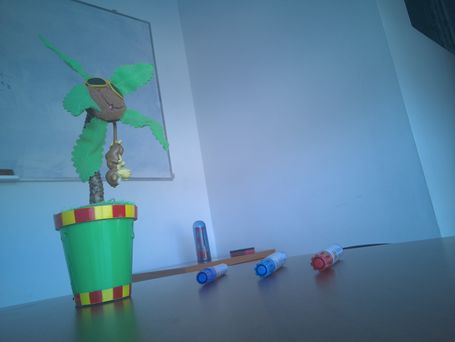
White balance is the process of removing unrealistic color casts, that affects the color temperature of the photo, which refers to the relative warmth or coolness of white light. The human eyes can judging what is white under different light sources, however digital cameras have great difficulty with auto white balance. Nvcamerasrc element has a white balance property (wbmode)
| Color Temperature (K) | Light Source |
|---|---|
| 1000-2000 | Candlelight |
| 2500-3500 | Tungsten Bulb |
| 3000-4000 | Sunrise/Sunset |
| 4000-5000 | Fluorescent Lamps |
| 5000-5500 | Electronic Flash |
| 5000-6500 | Daylight with Clear Sky |
| 6500-8000 | Moderately Overcast Sky |
| 9000-10000 | Shades or Heavily Overcast Sky |
Nvcamerasrc can set 10 white balance modes (default wbmode=1 auto white balance ) to adjust the image colors as follows:
- (0): off
- (1): auto
- (2): incandescent
- (3): fluorescent
- (4): warm-fluorescent
- (5): daylight
- (6): cloudy-daylight
- (7): twilight
- (8): shade
- (9): manual
All of those modes are tested with imx219 sensor using a J20 module for Jetson TX1 with the driver that Ridgerun created.
Off mode
gst-launch-1.0 nvcamerasrc wbmode=0 fpsRange="30.0 30.0" ! 'video/x-raw(memory:NVMM), width=(int)1920, height=(int)1080, format=(string)I420, framerate=(fraction)30/1' ! \
nvvidconv flip-method=2 ! 'video/x-raw(memory:NVMM), format=(string)I420' ! nvoverlaysink -e
Auto mode
gst-launch-1.0 nvcamerasrc wbmode=1 fpsRange="30.0 30.0" ! 'video/x-raw(memory:NVMM), width=(int)1920, height=(int)1080, format=(string)I420, framerate=(fraction)30/1' ! \
nvvidconv flip-method=2 ! 'video/x-raw(memory:NVMM), format=(string)I420' ! nvoverlaysink -e
Incandecent mode
gst-launch-1.0 nvcamerasrc wbmode=2 fpsRange="30.0 30.0" ! 'video/x-raw(memory:NVMM), width=(int)1920, height=(int)1080, format=(string)I420, framerate=(fraction)30/1' ! \
nvvidconv flip-method=2 ! 'video/x-raw(memory:NVMM), format=(string)I420' ! nvoverlaysink -e
Fluorescent mode
gst-launch-1.0 nvcamerasrc wbmode=3 fpsRange="30.0 30.0" ! 'video/x-raw(memory:NVMM), width=(int)1920, height=(int)1080, format=(string)I420, framerate=(fraction)30/1' ! \
nvvidconv flip-method=2 ! 'video/x-raw(memory:NVMM), format=(string)I420' ! nvoverlaysink -e
Warm-fluorescent mode
gst-launch-1.0 nvcamerasrc wbmode=4 fpsRange="30.0 30.0" ! 'video/x-raw(memory:NVMM), width=(int)1920, height=(int)1080, format=(string)I420, framerate=(fraction)30/1' ! \
nvvidconv flip-method=2 ! 'video/x-raw(memory:NVMM), format=(string)I420' ! nvoverlaysink -e
Daylight mode
gst-launch-1.0 nvcamerasrc wbmode=5 fpsRange="30.0 30.0" ! 'video/x-raw(memory:NVMM), width=(int)1920, height=(int)1080, format=(string)I420, framerate=(fraction)30/1' ! \
nvvidconv flip-method=2 ! 'video/x-raw(memory:NVMM), format=(string)I420' ! nvoverlaysink -e
Cloudy-daylight mode
gst-launch-1.0 nvcamerasrc wbmode=6 fpsRange="30.0 30.0" ! 'video/x-raw(memory:NVMM), width=(int)1920, height=(int)1080, format=(string)I420, framerate=(fraction)30/1' ! \
nvvidconv flip-method=2 ! 'video/x-raw(memory:NVMM), format=(string)I420' ! nvoverlaysink -e
Twilight mode
gst-launch-1.0 nvcamerasrc wbmode=7 fpsRange="30.0 30.0" ! 'video/x-raw(memory:NVMM), width=(int)1920, height=(int)1080, format=(string)I420, framerate=(fraction)30/1' ! \
nvvidconv flip-method=2 ! 'video/x-raw(memory:NVMM), format=(string)I420' ! nvoverlaysink -e
Shade mode
gst-launch-1.0 nvcamerasrc wbmode=8 fpsRange="30.0 30.0" ! 'video/x-raw(memory:NVMM), width=(int)1920, height=(int)1080, format=(string)I420, framerate=(fraction)30/1' ! \
nvvidconv flip-method=2 ! 'video/x-raw(memory:NVMM), format=(string)I420' ! nvoverlaysink -e
Manual mode
gst-launch-1.0 nvcamerasrc wbmode=9 fpsRange="30.0 30.0" ! 'video/x-raw(memory:NVMM), width=(int)1920, height=(int)1080, format=(string)I420, framerate=(fraction)30/1' ! \
nvvidconv flip-method=2 ! 'video/x-raw(memory:NVMM), format=(string)I420' ! nvoverlaysink -e
Other properties of nvcamerasrc
Contrast
Contrast is the separation between the darkest and brightest areas of the image. If you increase contrast, you make shadows darker and highlights brighter. Nvcamerasrc have the ability to increase and decrease contrast in the float interval [0-1]
Minimum contrast
gst-launch-1.0 nvcamerasrc contrast=0 fpsRange="30.0 30.0" ! 'video/x-raw(memory:NVMM), width=(int)3280, height=(int)2464, format=(string)I420, framerate=(fraction)30/1' ! \
nvvidconv flip-method=2 ! 'video/x-raw(memory:NVMM), format=(string)I420' ! nvoverlaysink -e
Maximum contrast
gst-launch-1.0 nvcamerasrc contrast=1 fpsRange="30.0 30.0" ! 'video/x-raw(memory:NVMM), width=(int)3280, height=(int)2464, format=(string)I420, framerate=(fraction)30/1' ! \
nvvidconv flip-method=2 ! 'video/x-raw(memory:NVMM), format=(string)I420' ! nvoverlaysink -e
Saturation
Saturation is the property to describe the intensity of color in the image. A saturated image has overly bright colors. Using nvcamerasrc you can set saturation, that property works in 0 - 2 float interval.
Minimum saturation
gst-launch-1.0 nvcamerasrc saturation=0 fpsRange="30.0 30.0" ! 'video/x-raw(memory:NVMM), width=(int)1920, height=(int)1080, format=(string)I420, framerate=(fraction)30/1' ! \
nvvidconv flip-method=2 ! 'video/x-raw(memory:NVMM), format=(string)I420' ! nvoverlaysink -e
Maximum saturation
gst-launch-1.0 nvcamerasrc saturation=2 fpsRange="30.0 30.0" ! 'video/x-raw(memory:NVMM), width=(int)1920, height=(int)1080, format=(string)I420, framerate=(fraction)30/1' ! \
nvvidconv flip-method=2 ! 'video/x-raw(memory:NVMM), format=(string)I420' ! nvoverlaysink -e
Color effect
With nvcamersrc you can create images with amazing color effects, it has 7 modes:
- (1): off
- (2): mono
- (3): negative
- (4): solarize
- (5): sepia
- (6): posterize
- (7): aqua
Off color effect
gst-launch-1.0 nvcamerasrc color-effect=1 fpsRange="30.0 30.0" ! 'video/x-raw(memory:NVMM), width=(int)1920, height=(int)1080, format=(string)I420, framerate=(fraction)30/1' ! \
nvvidconv flip-method=2 ! 'video/x-raw(memory:NVMM), format=(string)I420' ! nvoverlaysink -e
Mono color effect
gst-launch-1.0 nvcamerasrc color-effect=2 fpsRange="30.0 30.0" ! 'video/x-raw(memory:NVMM), width=(int)1920, height=(int)1080, format=(string)I420, framerate=(fraction)30/1' ! \
nvvidconv flip-method=2 ! 'video/x-raw(memory:NVMM), format=(string)I420' ! nvoverlaysink -e
Negative color effect
gst-launch-1.0 nvcamerasrc color-effect=3 fpsRange="30.0 30.0" ! 'video/x-raw(memory:NVMM), width=(int)1920, height=(int)1080, format=(string)I420, framerate=(fraction)30/1' ! \
nvvidconv flip-method=2 ! 'video/x-raw(memory:NVMM), format=(string)I420' ! nvoverlaysink -e
Solarize color effect
gst-launch-1.0 nvcamerasrc color-effect=4 fpsRange="30.0 30.0" ! 'video/x-raw(memory:NVMM), width=(int)1920, height=(int)1080, format=(string)I420, framerate=(fraction)30/1' ! \
nvvidconv flip-method=2 ! 'video/x-raw(memory:NVMM), format=(string)I420' ! nvoverlaysink -e
Sepia color effect
gst-launch-1.0 nvcamerasrc color-effect=5 fpsRange="30.0 30.0" ! 'video/x-raw(memory:NVMM), width=(int)1920, height=(int)1080, format=(string)I420, framerate=(fraction)30/1' ! \
nvvidconv flip-method=2 ! 'video/x-raw(memory:NVMM), format=(string)I420' ! nvoverlaysink -e
Posterize color effect
gst-launch-1.0 nvcamerasrc color-effect=6 fpsRange="30.0 30.0" ! 'video/x-raw(memory:NVMM), width=(int)1920, height=(int)1080, format=(string)I420, framerate=(fraction)30/1' ! \
nvvidconv flip-method=2 ! 'video/x-raw(memory:NVMM), format=(string)I420' ! nvoverlaysink -e
Aqua color effect
gst-launch-1.0 nvcamerasrc color-effect=7 fpsRange="30.0 30.0" ! 'video/x-raw(memory:NVMM), width=(int)1920, height=(int)1080, format=(string)I420, framerate=(fraction)30/1' ! \
nvvidconv flip-method=2 ! 'video/x-raw(memory:NVMM), format=(string)I420' ! nvoverlaysink -e
Scene
With nvcamersrc you can adjust the colors depending the scene and the object that you want to focus, it has 16 modes:
- (0): face-priority
- (1): action
- (2): portrait
- (3): landscape
- (4): night
- (5): night-portrait
- (6): theatre
- (7): beach
- (8): snow
- (9): sunset
- (10): steady-photo
- (11): fireworks
- (12): sports
- (13): party
- (14): candle-light
- (15): barcode
Custom ISP Configuration
Companies with access to the ISP can create a custom ISP file configuration to calibrate correctly a specific sensor based on its own parameters Below is the procedure to follow:
- 1) When you develop a driver on the Jetson (TX1/TX2/Xavier/Nano) you are able to capture in 2 different ways. One is using the V4L2 standard API with applications such as GStreamer (v4l2src), v4l2-ctl or yavta. This is a direct capture and the Jetson will not do any color conversion or change in the imaging, the format is kept as given by the sensor. The second way is using the NVIDIA proprietary software, such as GStreamer nvcamerasrc/nvarguscamerasrc elements or libargus, when using these applications, the frames will pass through the internal Jetson's ISP, performing the debayering process (conversion from RAW to YUV format) and color conversions/corrections based on ISP configurable parameters.
- 2) These ISP configurable parameters can be managed and changed in 2 ways, one is using the libargus or nvcamerasrc/nvarguscamerasrc properties and options (run gst-inspect-1.0 nvcamerasrc to see the available properties) such as white balance, auto exposure, saturation and color effects, changing the ISP configuration at runtime and applying filters to the image. The second way is creating a file called camera_overrides.isp, which contains configuration and tuned parameters that the ISP uses to execute the internal algorithms.
- 3) This camera_overrides.isp file can be created with all the tuned configuration for an specific sensor or scene, in order the images to look exactly how the customer wants them to look. NVIDIA provides access to the creation and tuning of this file only to ODMs such as Leopard Imaging, and they have all the tools and procedures to tune the ISP for any sensor, doing calibration on Black level, Lens shading, White balance and Color correction. RidgeRun doesn't provide support on ISP tuning but only on driver development side.
- 4) Once the driver is ready and the capture is properly done, in case the customer wants to tune up the image, they can contact Leopard Imaging. Their contacts are: Simon Zhu (simonz@leopardimaging.com), Bill Pu (billp@leopardimaging.com) and Leopard Sales (sales@leopardimaging.com). You can mentioned RidgeRun recommendation on this task.
In order to apply a new ISP calibration you will need to follow next steps:
1. If there are any nvcam_cache_#.bin and serial_no_#.bin files under /var/nvidia/nvcam/settings on Jetson, delete them.
sudo rm /var/nvidia/nvcam/settings/nvcam_cache_*
sudo rm /var/nvidia/nvcam/settings/serial_no_*
2. Copy camera_overrides.isp in the correct location:
cp <path>/camera_overrides.isp /var/nvidia/nvcam/settings
3. Do below commands:
sudo chmod 664 /var/nvidia/nvcam/settings/camera_overrides.isp
sudo chown root:root /var/nvidia/nvcam/settings/camera_overrides.isp
ISP Bandwidth
When talking about capture, debayering (RAW to YUV conversion) and encoding in Jetson it is important to consider the bandwidth of each of the stages involved. Basically there are 3 parts where typically:
MIPI CSI Bandwidth > Encoder Bandwidth > ISP Bandwidth.
This section provides a brief summary about this bandwidth but more information can be found in the SoC datasheet which can be downloaded from:
https://developer.nvidia.com/embedded/downloads
Jetson Nano
Dedicated RAW to YUV processing engines process up to 1400Mpix/s (up to 24MP sensor) | MIPI CSI 2.0 up to 1.5Gbps (per lane) | Support for x4 and x2 configurations (up to four active streams).
In case of the encoder you can find statistics here:
https://developer.ridgerun.com/wiki/index.php?title=Jetson_Nano/Introduction/Overview
Jetson TX2
Dedicated RAW to YUV processing engine process up to 1.4Gpix/s | MIPI CSI 2.0 up to 2.5Gbps (per lane) | Support for x4 and x2 configurations (up to 3 x4-lane or 6 x2-lane cameras)
In case of the encoder you can find statistics here:
https://developer.ridgerun.com/wiki/index.php?title=Jetson_TX2#Jetson_TX2
Jetson Xavier
At the momento of writing this section it was not possible to find the ISP bandwidth for Xavier. However, it is possible to assume that it is similar to the TX2 (1.4Gpix/s). In external sources references to 1.5Gpix/s can be found. The encoder is limited to: 4x 4Kp60, so that is around 1.99Gpix/s.
You can find statistics here:
https://developer.ridgerun.com/wiki/index.php?title=Xavier/Introduction/SoM_Overview

