Installing Jetpack 3.0
Installing Jetpack
1.Download JetPack 3.0 (2017/03/14) from https://developer.nvidia.com/embedded/downloads
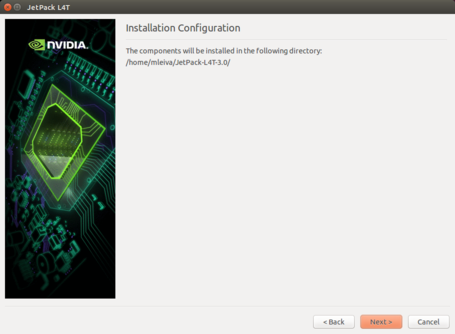
2. Move binary into installation directory, we recommend /home/$USER/JetPack-L4T-3.0/
mkdir -p /home/$USER/JetPack-L4T-2.3
mv JetPack-L4T-3.0-linux-x64.run /home/$USER/JetPack-L4T-3.0/
1. Set the Jetpack binary as executable and set correct permissions.
cd /home/$USER/JetPack-L4T-2.3
chmod +x JetPack-L4T-3.0-linux-x64.run
2. Install Jetpack.
./JetPack-L4T-3.0-linux-x64.run
3. Press Next to start the installation.
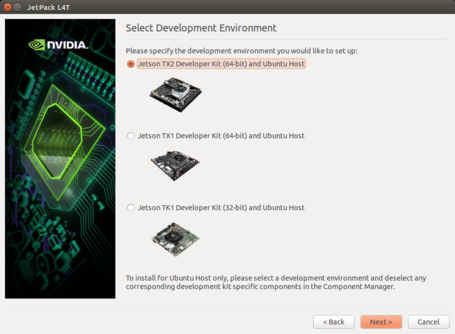
4. Select Jetson TX1 Development Kit (64-bit).
Jetpack require privileges, you have to authenticate.
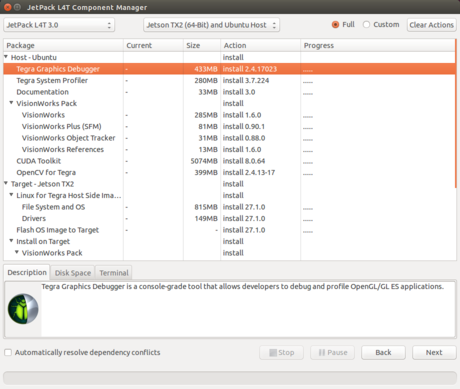
5. Ridgerun recommends select standard installation.
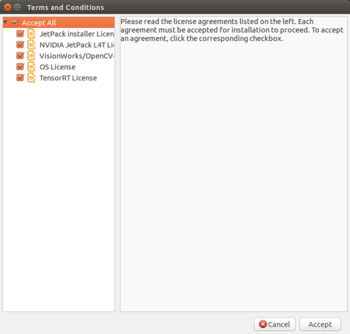
6. Accept terms and conditions.
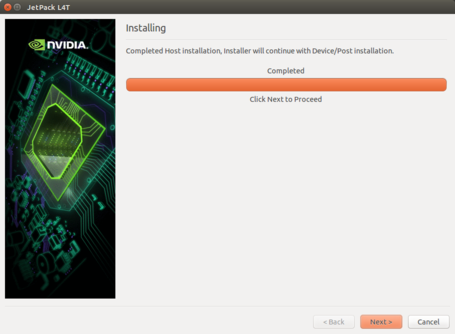
6. Wait until the installation will be completed (this may take a while).
Issue: JetPack installation under Ubuntu 16.04 64bit
As NVIDIA recommends Ubuntu 14.04 64bit for Jetpack installation, there is an error installing OpenCV under Ubuntu 16.04 64bit. You can disable it from Jetpack and continue installing. The issue remains the same for Jetpack 2.3 and 2.3.1 versions.
