Difference between revisions of "Xavier/JetPack 5.0.2/Getting Started/Installing Jetpack"
m (Fherrera moved page Xavier/JetPack 4.1/Getting Started/Installing Jetpack to Xavier/JetPack 5.0.2/Getting Started/Installing Jetpack: update) |
|||
| Line 1: | Line 1: | ||
<noinclude> | <noinclude> | ||
| − | {{Xavier/Head|previous=JetPack | + | {{Xavier/Head|previous=JetPack 5.0.2/Getting Started|next=JetPack 5.0.2/Getting Started/Wizard Flashing|keywords=jetpack,configure,configuration,installer,installation,install}} |
</noinclude> | </noinclude> | ||
| Line 7: | Line 7: | ||
==Download Installer to Host Computer== | ==Download Installer to Host Computer== | ||
| − | 1. Download JetPack | + | 1. Download JetPack 5.0.2 from https://developer.nvidia.com/embedded/downloads |
2. Move binary into installation directory, <code>/home/$USER/JetPack-L4T/</code> is recommended | 2. Move binary into installation directory, <code>/home/$USER/JetPack-L4T/</code> is recommended | ||
| Line 82: | Line 82: | ||
<noinclude> | <noinclude> | ||
| − | {{Xavier/Foot|JetPack | + | {{Xavier/Foot|JetPack 5.0.2/Getting Started|JetPack 5.0.2/Getting Started/Wizard Flashing}} |
</noinclude> | </noinclude> | ||
Revision as of 07:43, 18 August 2022

|
Contents
Requirements
Supported host operating systems are Ubuntu Linux x64 Version 18.04 or 16.04
Download Installer to Host Computer
1. Download JetPack 5.0.2 from https://developer.nvidia.com/embedded/downloads
2. Move binary into installation directory, /home/$USER/JetPack-L4T/ is recommended
mkdir -p /home/$USER/JetPack-L4T/
mv JetPack-${VERSION}.run /home/$USER/JetPack-L4T/
3. Set the Jetpack binary as executable and set correct permissions.
cd /home/$USER/JetPack-L4T
chmod +x JetPack-${VERSION}.run
Run the Installer
1. Run the Binary
./JetPack-${VERSION}.run
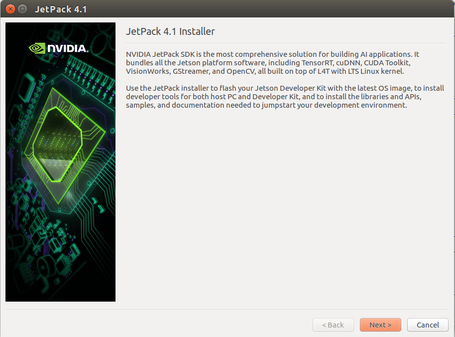
2. Press next to start the installation
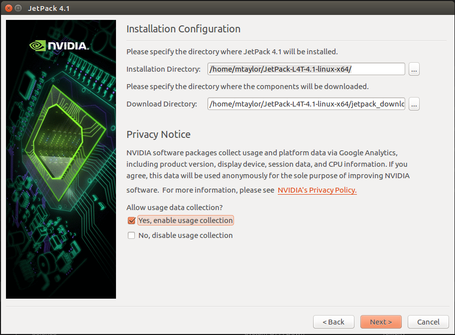
3. Select install location
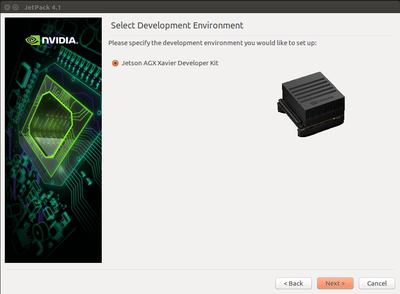
4. Select platform
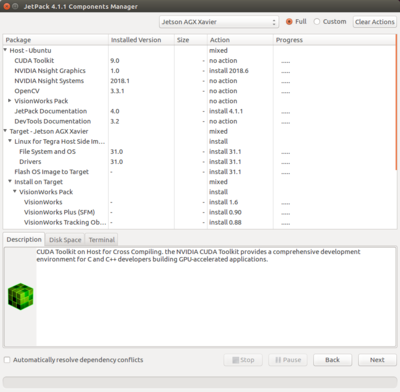
5. Select desired components, standard installation is recommended
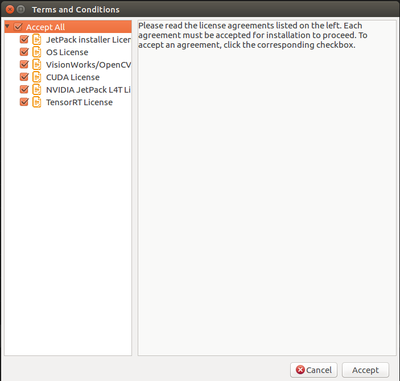
6. Accept terms and conditions
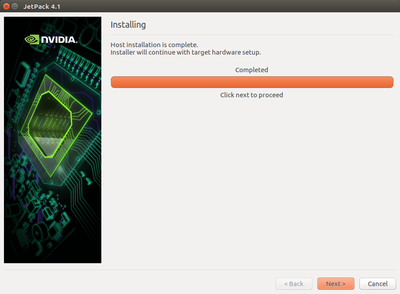
7. Wait for the installation to complete
This might take a while since Jetpack must download all packages and install some of them on the host computer.
Considerations for Docker
If you want to run JetPack inside a newly created docker container take into account the following considerations.
sudo apt install lsb-release x11-utils libgtk2.0-0 gksudo

# Ugly hack to avoid dealing with policy files and be able to spawn GUI apps
sudo ln -s /usr/bin/gksudo /usr/local/bin/pkexec

